Week 8: Image Editing
Today you will learn how to use photoshop. You will go through the informational/tutorial videos below. Make sure you are paying attention and taking notes, we will discuss this information in class.
Objectives:By the end of this unit you will be able to:
|
VocabularyEditing – manual or automated manipulation of an image or design. There are two types of editing in Photoshop.
|
TUESDAY- WEDNESDAY
Assignment #1: Zap the Zits
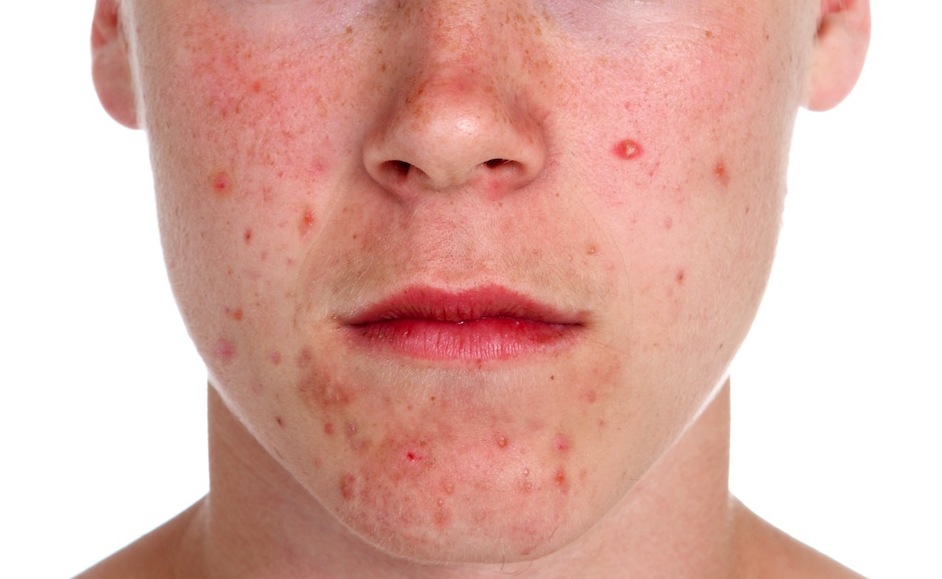
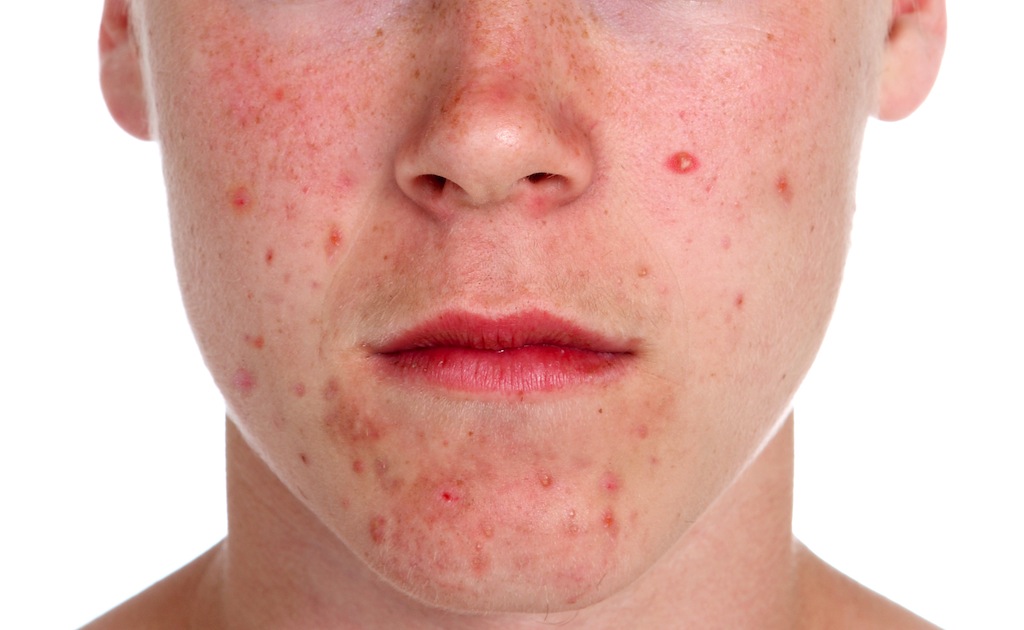
Today you will be learning how the pros edit out blemishes. Many times in magazines or on TV you will see models and actors with perfect skin or very smoothed out skin or look. Makeup can help a lot of times. but for what makeup cannot fix, many editors and production artists use photoshop. Contrary to what media shows you, not everyone has perfect skin. This is not to make fun of anyone with acne or skin issues. This assignment is to allow you to see the power of image editing.
Step 1. Start with the tutorial video. You will use this tutorial as reference to help you with your assignment.
Step 2: Open Photoshop and import the image below into photoshop.
Step 3: Follow the steps in the tutorial to remove the blemishes of the the boy in the image.
Step 2: Open Photoshop and import the image below into photoshop.
Step 3: Follow the steps in the tutorial to remove the blemishes of the the boy in the image.
|
|
| ||
|
DUE DATE
|
Turn Into Google Classroom by Wednesday October 14th by 11:59 pm
File Should be saved as .psd file ex: Lastname_Firstname_Zits.psd |
THURSDAY - FRIDAY
How to Use the Liquify Tool in Photoshop
How to Use the Liquify Tool:
The Liquify Tool is one of the most powerful image editing tools in Photoshop. It will allow you to “push and pull” pixels any way you’d like.
It is a common misconception that the Liquify Tool is only used for making people thin. In this episode we show you another great use for the Liquify Tool – fixing and adjusting clothing.
You will learn some of the key techniques to learning the Liquify Tool including:
- Change Brush Size Often – Each area of your image will probably require using a different sized brush. The fastest way to change your brush size in Photoshop is to hold Control+Option(Alt) and click and drag your mouse to the left or right. When using a PC be sure to right click.
- Brush Pressure – It is better to use a lower pressure and make little adjustments than use a high pressure and have to undo your extreme changes.
- Brush Density – Keep your brush density on the higher end. This will allow you to effect a larger area per stroke, creating more natural alterations.
TEKS: